ADVERTISEMENT
—
ADVERTISEMENT
### ✅ Step-by-Step Instructions:
### **1. Find the Leak**
Inflate the inner tube slightly and **listen for the hissing sound**. If it’s hard to hear, submerge the tube in water and watch for **bubbles**. Mark the spot with chalk or a pen.
### **2. Dry and Prep the Area**
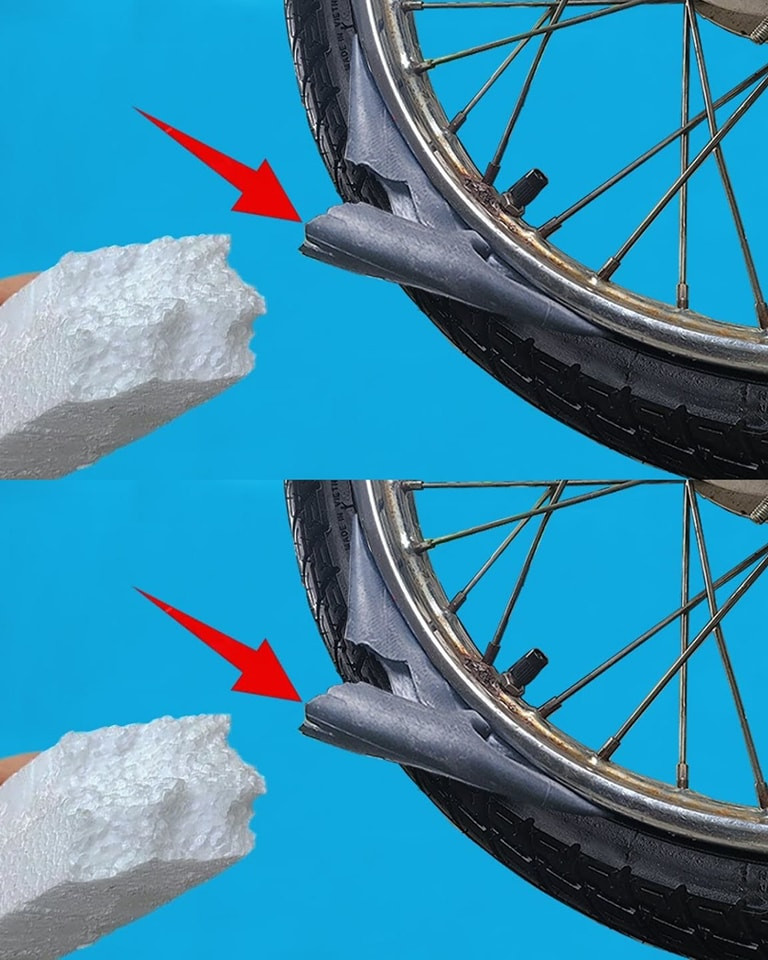
Wipe the area clean and dry. If you have sandpaper, **roughen the surface** slightly so the patch sticks better.
### **3. Apply the Patch**
* If using a **self-adhesive patch**, peel and press it **firmly** over the hole.
* If using a **rubber patch and glue**, apply a thin layer of glue, wait 30 seconds until tacky, then press the patch on and hold for 30 seconds.
### **4. Test the Seal**
Inflate the tube again and check for leaks. No hissing? You’re good to go.
ADVERTISEMENT
—
## 🧠 Bonus: What If You Don’t Have a Patch Kit?
In a pinch, you can use one of these emergency hacks:
* **Superglue + tape** (for very small holes)
* **Piece of rubber glove + duct tape**
* **Zip tie or twist tie** (as a short-term clamp on a small tear)
> ⚠️ Temporary fixes may only last a short while — always follow up with a proper patch or replacement.
ADVERTISEMENT
—
## 🔧 Pro Tips for Longer-Lasting Repairs
* Always carry a **mini repair kit** and pump on bike rides.
* **Check tire pressure** regularly — underinflated tires are more prone to flats.
* Inspect your **tire tread** for embedded debris that could cause repeat punctures.
* Replace tubes that have multiple patches — they weaken over time.
—
## 🚴♂️ Final Thoughts
Repairing a punctured inner tube doesn’t have to be a hassle. In fact, with this 2-minute trick, you’ll fix it faster than it took to read this article.
So the next time you get a flat, don’t panic — just pull out your patch kit, and show that tire who’s boss.
> “Why didn’t I know this before?”
> Now you do — and you’ll never get caught off guard again. ✅
—
**Want a printable emergency tire repair checklist or gear guide for your bike kit? Just ask — I’d be happy to share it!** 🚲🛠️
ADVERTISEMENT
