ADVERTISEMENT
### Instructions:
ADVERTISEMENT
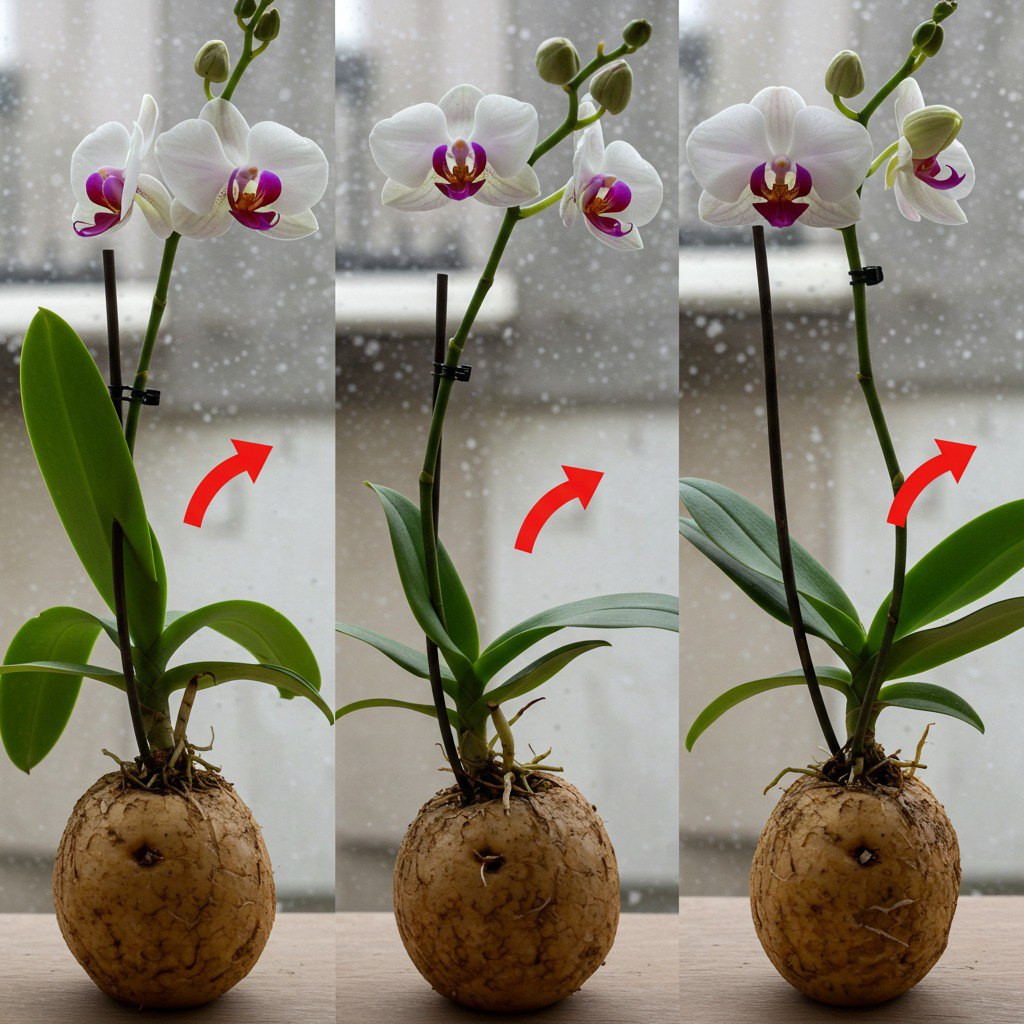
1. **Select your orchid cutting:** Choose a healthy section of the plant, ideally with visible nodes or aerial roots.
2. **Prepare the potato:** Make a small incision or hole in the potato large enough to insert the orchid cutting.
3. **Insert the cutting:** Gently place the orchid cutting into the potato, ensuring it’s secure but not too tight.
4. **Wait for roots to develop:** Keep the potato in a warm, shaded spot and check regularly for root growth from the cutting.
5. **Transfer to potting medium:** Once roots are strong and established (usually a few weeks), carefully remove the cutting and plant it in orchid mix or moss.
6. **Care for your new orchid:** Water sparingly and provide indirect sunlight. Watch it grow into a beautiful new plant!
—
## Pro Tips from Gardeners
* Use a potato that’s firm and free from blemishes or sprouts.
* Don’t let the potato dry out; keep it slightly moist but not soggy.
* Be patient! Orchid propagation is a slow process, but the results are worth it.
* Combine this method with proper orchid care — consistent humidity, indirect light, and balanced watering.
—
## Final Thoughts
If you’ve been hesitant to propagate orchids because it seemed too technical or fragile, the potato trick offers a delightful, accessible way to multiply your plants naturally. It’s proof that sometimes, the simplest tools from your kitchen can work wonders in your garden.
Give it a try, and soon you could have an endless collection of beautiful orchids, all started with a potato and a bit of patience!
—
ADVERTISEMENT
Would you like me to share more orchid care tips or other unusual gardening hacks? Just let me know!
ADVERTISEMENT
