ADVERTISEMENT
✨ *This is the secret to flakiness — those little pockets of butter steam in the oven and create layers!*
ADVERTISEMENT
### 3. **Add Ice Water Slowly**
Drizzle in the ice water **one tablespoon at a time**, mixing gently with a fork after each addition. Stop when the dough just comes together and can be pressed into a ball. It should be **moist but not sticky**.
### 4. **Chill the Dough**
Divide the dough in half, flatten into discs, and wrap each in plastic wrap. Refrigerate for at least **1 hour** (or up to 2 days). This helps relax the gluten and firm up the butter.
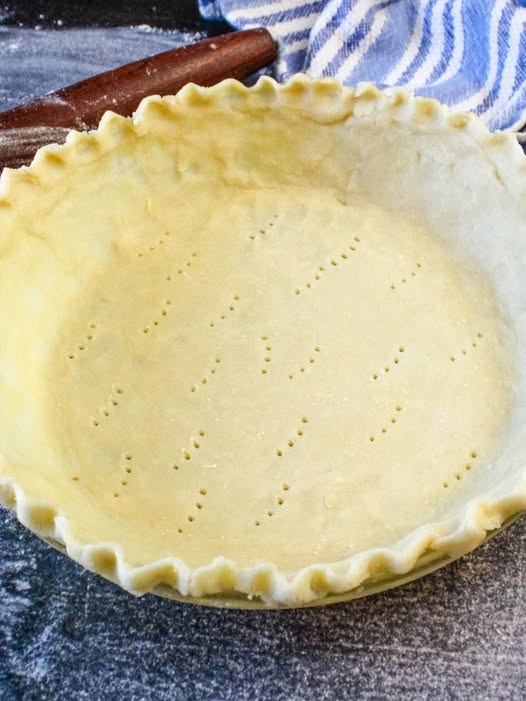
### 5. **Roll It Out**
On a lightly floured surface, roll out the dough to about **1/8-inch thick**, rotating often to avoid sticking. Gently lift and place it into your pie dish.
Use the second disc for a lattice or full top crust — or freeze it for your next pie!
—
## 🥄 Pro Tips from Mom
ADVERTISEMENT
* **Use cold ingredients** — especially the butter and water. It makes all the difference.
* **Don’t overwork the dough.** Stop mixing once it holds together — overmixing makes it tough.
* **Freeze your rolled-out crust** for 10 minutes before baking — it helps prevent shrinking.
* **Brush the crust with egg wash** (1 egg + splash of milk or water) for that glossy, golden finish.
—
## 🍏 Perfect for Any Pie
Whether it’s:
* **Apple or peach pie**
* **Pumpkin or pecan pie**
* **Savory chicken pot pie**
* **Quiche or tarts**
ADVERTISEMENT
This crust is the **versatile, buttery base** that holds everything together — literally and emotionally.
—
## ❤️ Final Thoughts
My mom’s flaky pie crust isn’t fancy. It doesn’t require special ingredients. But it delivers **every single time** — light, crisp, and melt-in-your-mouth good.
It’s the kind of recipe that’s passed down, loved deeply, and becomes part of the family. And now, it’s yours too.
—
**Want a step-by-step photo guide or printable recipe card?** I’d be happy to make one for you!
ADVERTISEMENT
