ADVERTISEMENT

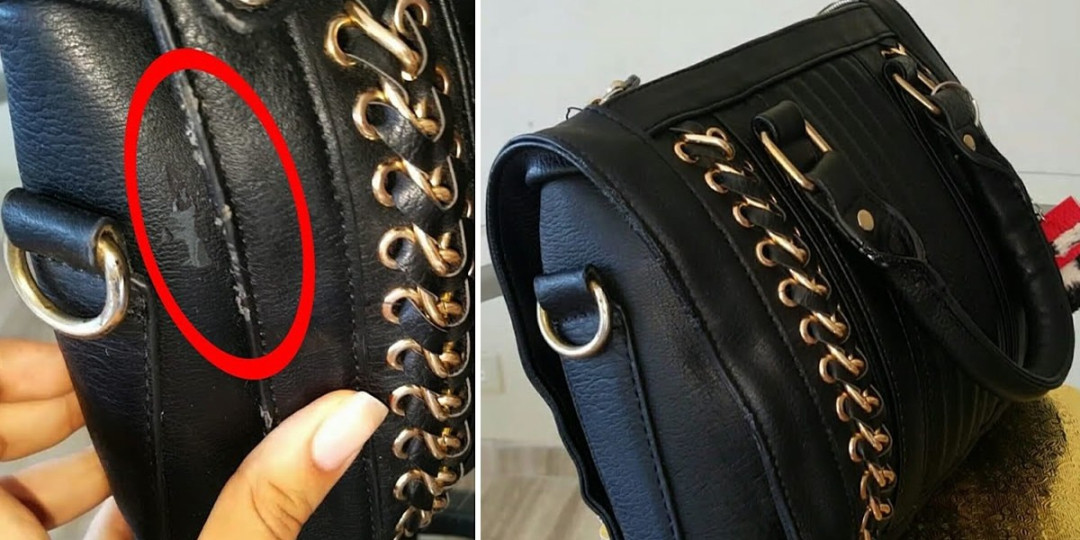
How to repair a leather or imitation leather bag and leave it like new
### For Imitation Leather:
ADVERTISEMENT
* Mild soap or rubbing alcohol
* Soft cloths
* Flexible fabric glue or faux leather repair kit
* Matching color paint (acrylic leather paint or marker)
* Clear sealer or topcoat (for durability)
—
## 🧼 Step 1: Clean the Surface Thoroughly
Start by cleaning the entire bag to remove dirt, oils, or grime that may interfere with repair products.
* For **real leather**: Use a dedicated leather cleaner or a mild soap and water solution. Gently wipe with a damp cloth and let it dry.
* For **faux leather**: Use rubbing alcohol or mild dish soap. This helps prepare the surface and remove any finish.
Let the bag dry completely before moving on.
—
## 🪛 Step 2: Repair Damage
### For Scratches or Scuffs (Leather & Faux):
ADVERTISEMENT
* Apply a **matching leather dye or paint** with a sponge or soft cloth.
* For deeper scratches on real leather, use a **leather filler**, let it dry, then gently sand smooth.
### For Peeling or Cracking (Faux Leather):
* Carefully **trim away any loose flakes** with scissors.
* Use **flexible fabric glue** to flatten peeling areas or reattach edges.
* For deep cracks, apply thin layers of filler or repair compound, letting each dry before adding the next.
—
## 🎨 Step 3: Recolor & Blend
ADVERTISEMENT
Once the surface is smooth and damage is filled:
* Use a **matching leather color restorer or acrylic paint** to blend the repaired area with the rest of the bag.
* Apply in **thin layers**, allowing each to dry before applying the next.
* Blend outward from the repair to avoid harsh edges.
For small areas, **leather touch-up markers** or shoe polish in the right shade can also work.
—
## 🧴 Step 4: Condition or Seal
After the repairs and color have dried:
* For **real leather**: Apply a **leather conditioner** to restore flexibility and shine. This also prevents future cracking.
* For **faux leather**: Use a **clear topcoat or acrylic sealer** to protect the paint and prevent peeling.
Let it cure for at least 24 hours before using the bag again.
—
## 🧽 Optional: Restore Hardware & Lining
* **Tarnished zippers or buckles?** Polish with a bit of metal cleaner and a soft cloth.
* **Loose threads or lining?** Use fabric glue or needle and thread to fix minor tears.
—
## 👜 Final Touches
* Buff the surface with a clean cloth to give it a finished look.
* Store your bag properly — stuffed to hold its shape and out of direct sunlight or moisture — to preserve your hard work.
—
## ✨ Final Thoughts
With just a few tools and a little care, you can **extend the life of your leather or faux leather bag** dramatically. Whether you’re fixing a minor scuff or giving your go-to tote a full makeover, repairing instead of replacing is not only budget-friendly — it’s also sustainable.
Your bag deserves a second chance, and now you have the know-how to give it one.
—
Would you like a printable checklist or product recommendations for leather repair kits? I’m happy to help!
ADVERTISEMENT