ADVERTISEMENT

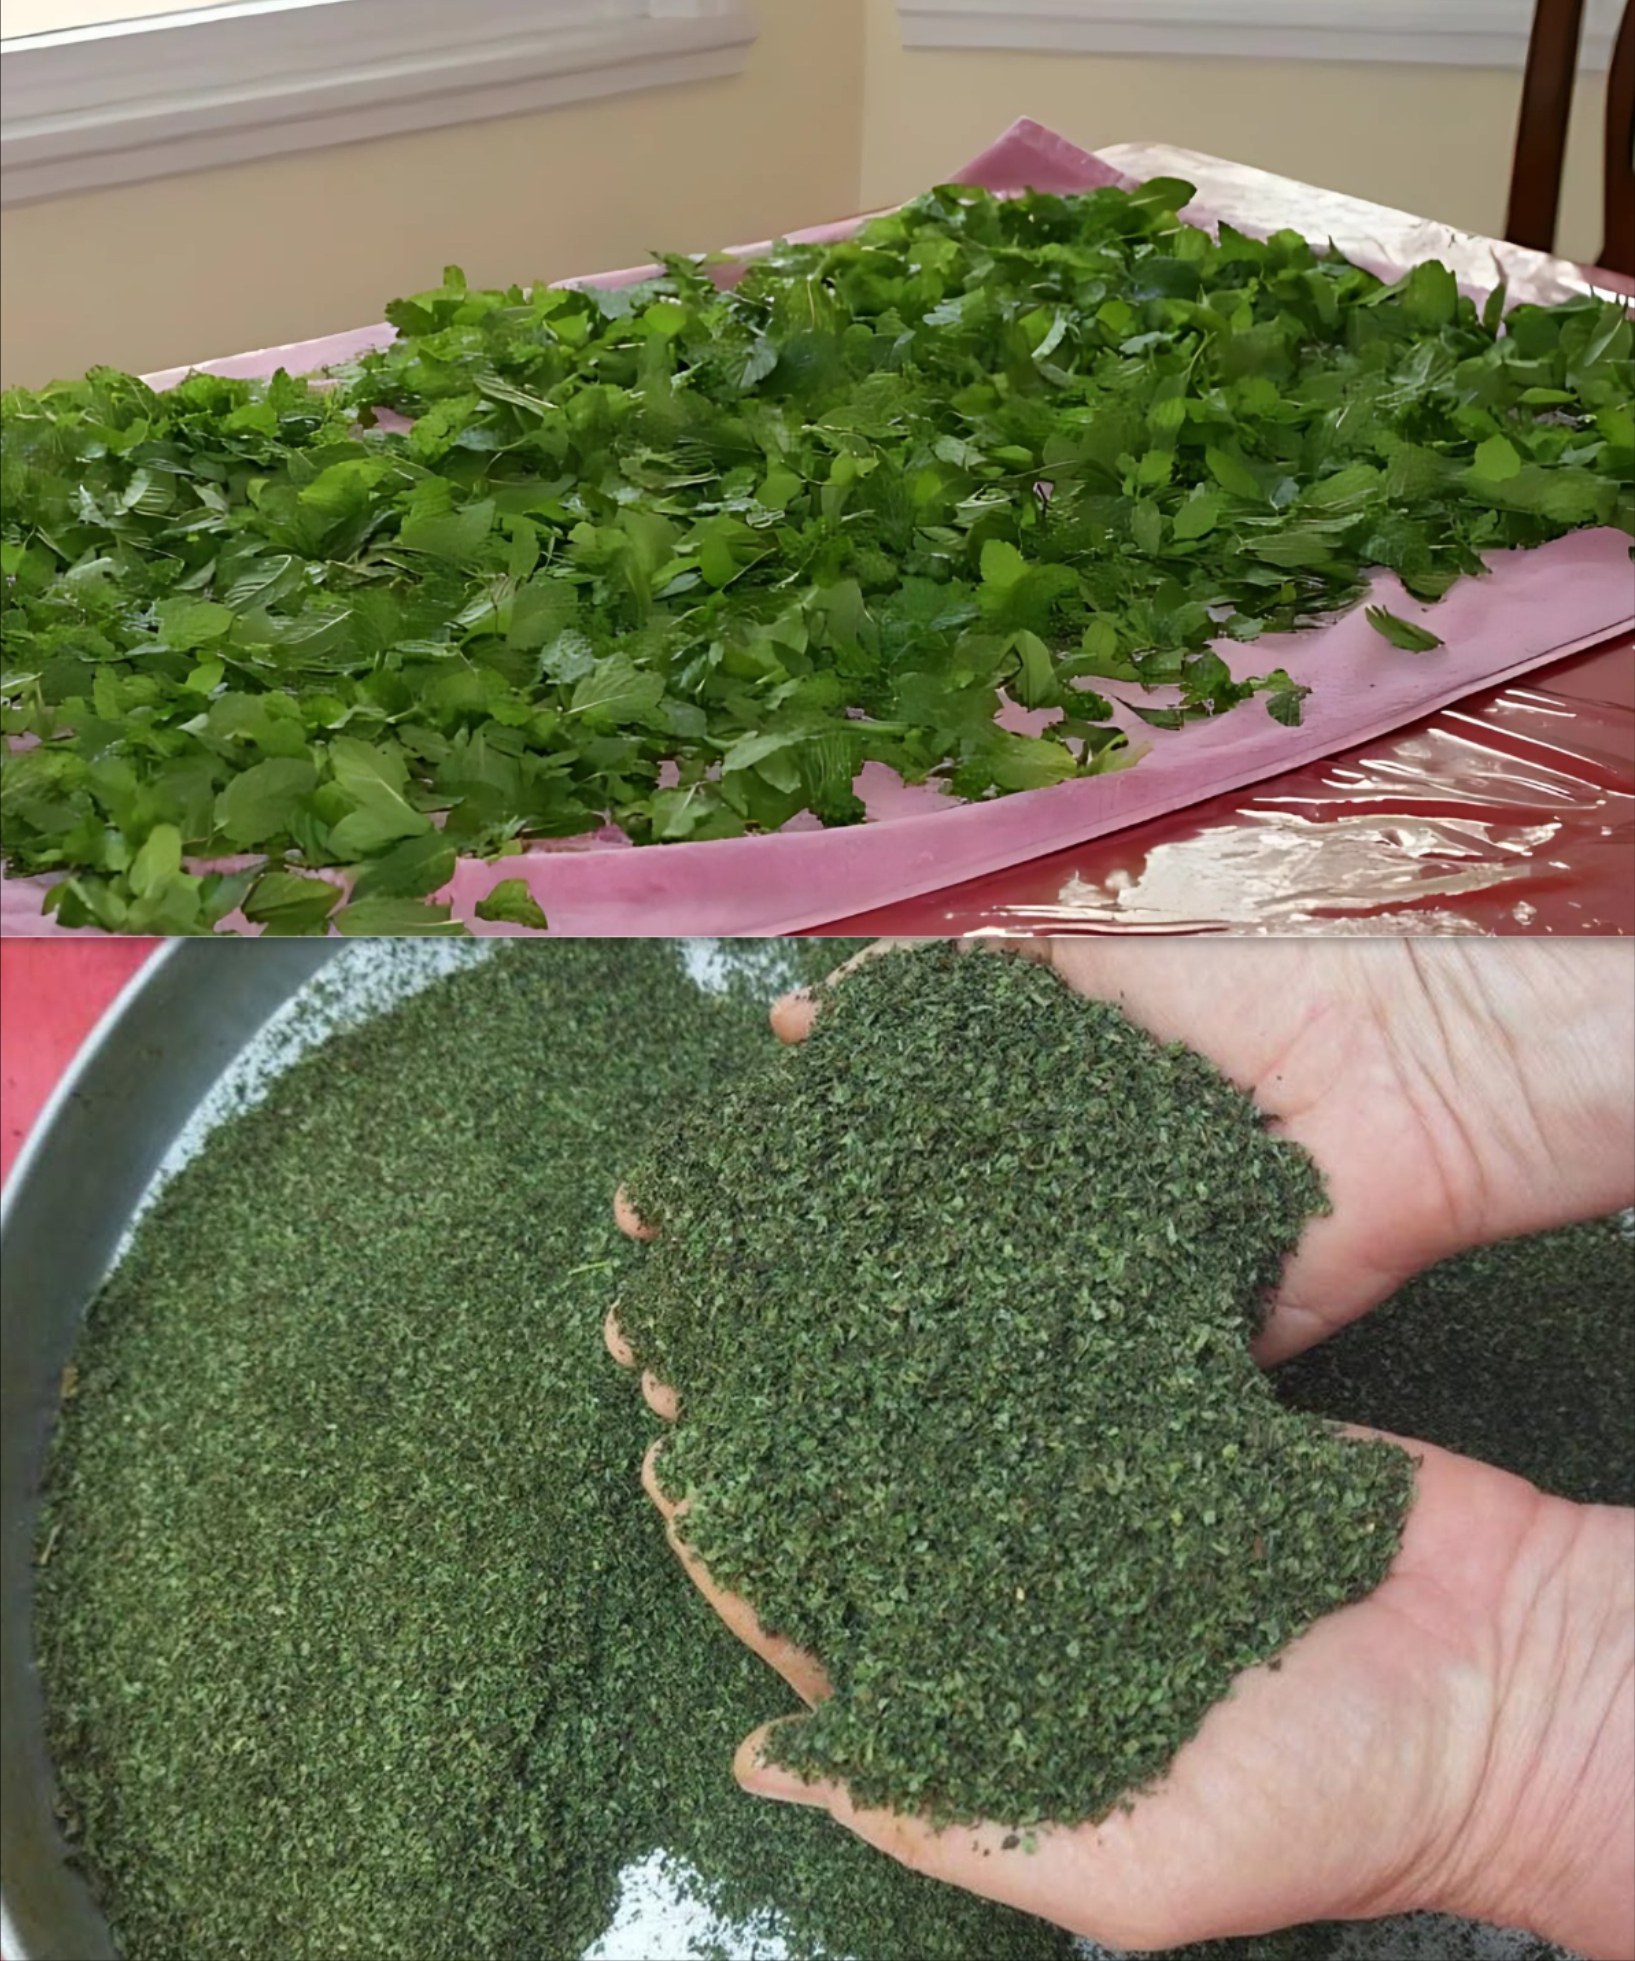
How to Dry Mint at Home: A Natural and Effective Method
#### Step 2: Rinse and Dry
ADVERTISEMENT
Rinse the mint gently under cool water to remove dirt and insects. Shake off excess water and pat dry with paper towels. It’s important to dry the mint well to prevent mold during drying.
#### Step 3: Bundle Your Mint
Gather mint stems into small bunches (around 5–7 stems) and tie them securely with string or a rubber band.
#### Step 4: Hang to Dry
Hang the mint bunches upside down in a warm, dry, and well-ventilated place. Avoid direct sunlight, which can bleach the leaves and reduce flavor. A dark pantry, kitchen corner, or attic works well.
#### Step 5: Wait Patiently
Allow the mint to dry completely — this usually takes about 1 to 2 weeks. You’ll know it’s ready when the leaves feel crisp and crumble easily.
#### Step 6: Store Your Dried Mint
Strip the dried leaves from the stems and store them in an airtight container, away from light and moisture. Glass jars or sealed bags work great.
ADVERTISEMENT
—
### Tips for Best Results
* **Don’t rush the drying process:** Slow drying preserves the oils that give mint its flavor.
* **Use clean containers:** Prevent moisture and contamination.
* **Check for mold:** If leaves feel damp or smell off, discard and dry a new batch.
* **Label your containers:** Dried mint lasts about 6–12 months.
—
### How to Use Dried Mint
ADVERTISEMENT
* Brew in hot water for a refreshing mint tea.
* Add to soups, stews, or sauces for a herbal twist.
* Sprinkle over salads or desserts.
* Use in DIY beauty products like face masks or scrubs.
—
### Final Thoughts
Drying mint at home is an easy, natural way to keep this aromatic herb close, no matter the season. With just a little patience and a cozy spot in your home, you can enjoy the fresh taste of mint year-round — straight from your own pantry.
Give it a try, and let your creativity flow!
—
Want recipes or ideas for using your dried mint? Just let me know!
ADVERTISEMENT