ADVERTISEMENT
If it doesn’t fully curdle, add a bit more vinegar or lemon juice and let it sit for a few minutes.
ADVERTISEMENT
—
### 3. **Let It Sit**
Cover the pot and let the curds rest for **10–15 minutes**. This helps them firm up and separate more completely.
—
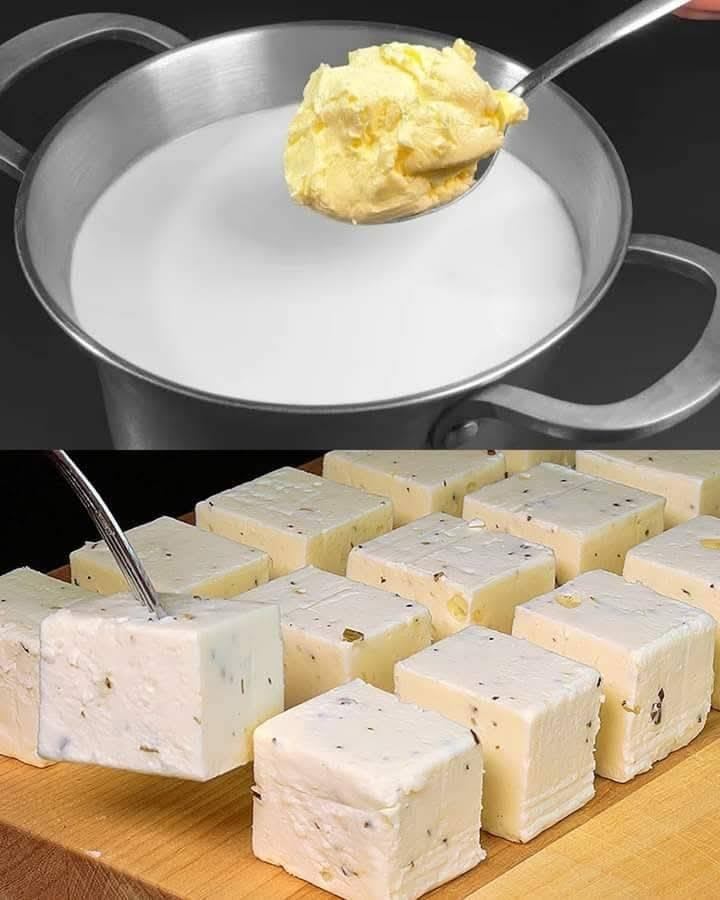
### 4. **Strain the Curds**
Line a colander with **cheesecloth or a clean kitchen towel** and place it over a large bowl. Pour the curds and whey into the colander to strain.
Let it drain for **5–15 minutes**, depending on how soft or firm you want your cheese.
—
### 5. **Season & Shape**
ADVERTISEMENT
Sprinkle with salt and mix gently. If you’d like to add herbs, garlic, or spices, now’s the time.
You can either:
* **Serve it soft** like ricotta or spreadable cheese
* **Shape it** into a disc, wrap it tightly in the cloth, and press under a heavy object to make a firmer cheese (like paneer)
Let it chill in the fridge for an hour if shaping.
—
ADVERTISEMENT
## 🧂 Optional Flavor Add-Ins
Want to get creative? Try mixing in:
* Fresh herbs (chives, basil, parsley)
* Cracked black pepper
* Garlic powder or roasted garlic
* Crushed red pepper flakes
* Lemon zest or smoked paprika
—
## 🥗 How to Use Your Homemade Cheese
* Spread on toast or crackers
* Crumble over salads
* Stir into pasta dishes or risottos
* Use in stuffed shells or lasagna
* Cube and pan-fry for a crispy paneer-style dish
—
## ❄️ Storage
* Store in an airtight container in the fridge
* Lasts up to **5 days** (fresh cheese has no preservatives)
* Do not freeze — texture will change
—
## 🧠 Final Thoughts
There’s something incredibly satisfying about making cheese with your own hands. It’s **natural, cost-effective, and tastes incredibly fresh**. Whether you enjoy it soft or firm, plain or flavored, this homemade cheese recipe is a great way to dip your toes into the world of DIY dairy.
It’s easy enough for beginners, and the results? Seriously addictive.
—
**Want to try mozzarella or a cultured cheese next? Let me know — I can guide you step-by-step!**
ADVERTISEMENT
